This post is the first in a series of explaining how you can implement Role Based Access Control/Organizational Based Access Control/Attribute Based Access Control (RBAC/OBAC/ABAC) in Microsoft Defender for Endpoint (MDE) in order to achieve more granularity matching your processes in how you usually work when it comes to Security Operations.
Of course, there are pre-requisites in order to implement this. I assume that if you´re reading this you´re already up to speed as to what MDE is. This will not be covered by this series, however if you´re just starting out with this technology, you can read more about it here: https://docs.microsoft.com/en-us/microsoft-365/security/defender-endpoint/microsoft-defender-endpoint?view=o365-worldwide
So, if you´re licensed for to use MDE, you´re in the clear but as a reminder these licenses are:
- Windows 10 Enterprise E5
- Windows 10 Education A5
- Microsoft 365 E5 (M365 E5) which includes Windows 10 Enterprise E5
- Microsoft 365 A5 (M365 A5)
- Microsoft 365 E5 Security
- Microsoft 365 A5 Security
- Microsoft Defender for Endpoint
Since the MDE portal, nowadays present in the unified portal under https://security.microsoft.com or in the “old” https://securitycenter.windows.com rely on Azure Active Directory for Identity and Access Management (IAM) this is where we will start.
Creating the organization based groups in AAD
The Azure Active Directory (AAD) contains both all of your synchronized users from on-prem Active Directory (AD) and cloud-only users (administrators, B2B users etc.) So we´ll use this Identity Provider in order to govern access and roles in MDE.
In order to achieve our goal here we need to use Security groups either synced from on-prem or created in AAD. We will, of course create ours in AAD.
We could use API, the Portal or Powershell to create these groups.
Powershell:
New-AzureADMSGroup -DisplayName "Defender for Endpoint - Tier 1 Analysts" -Description "Dynamic group for Defender for Endpoint - Tier 1 Analysts created from PS" -MailEnabled $False -MailNickName "MDET1" -SecurityEnabled $True -GroupTypes "DynamicMembership" -MembershipRule "(user.physicalDeliveryOfficeName -eq ""Tier 1"") and (user.accountEnabled -eq True) and (user.country -eq ""Sweden"")" -MembershipRuleProcessingState "On"Graph API:
POST
{
description: "Defender for Endpoint - Tier 1 Analysts",
displayName: "Defender for Endpoint - Tier 1 Analysts",
groupTypes: ["DynamicMembership"],
mailEnabled: false,
mailNickname: "MDET1",
membershipRule: '(user.physicalDeliveryOfficeName -eq "Tier 1") and (user.accountEnabled -eq True) and (user.country -eq "Sweden")',
membershipRuleProcessingState: "On",
securityEnabled: true
}
Portal:
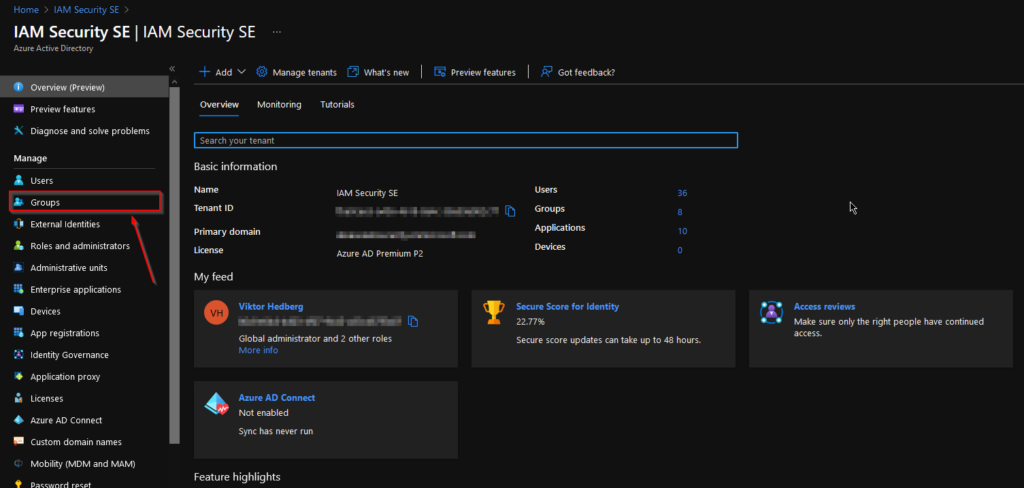
Go to the Azure portal (portal.azure.com) and select Azure Active Directory -> Groups
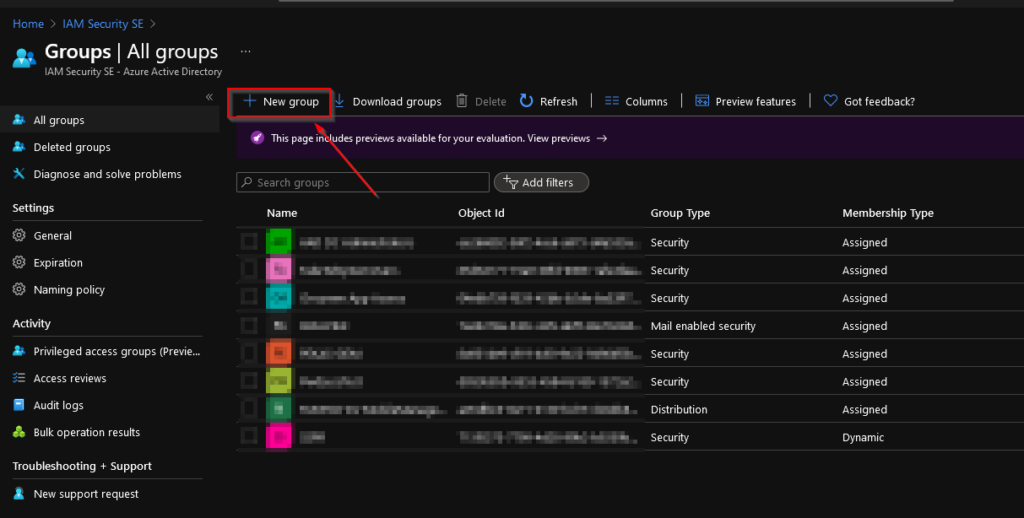
Select “New group” as shown here:
Add in your desired name, description and change the membership type to “Dynamic user”. An assigned group would of course work as well, but in order to not have to manually update the membership we´ll choose dynamic and let the attributes and AAD do the membership calculation for us.
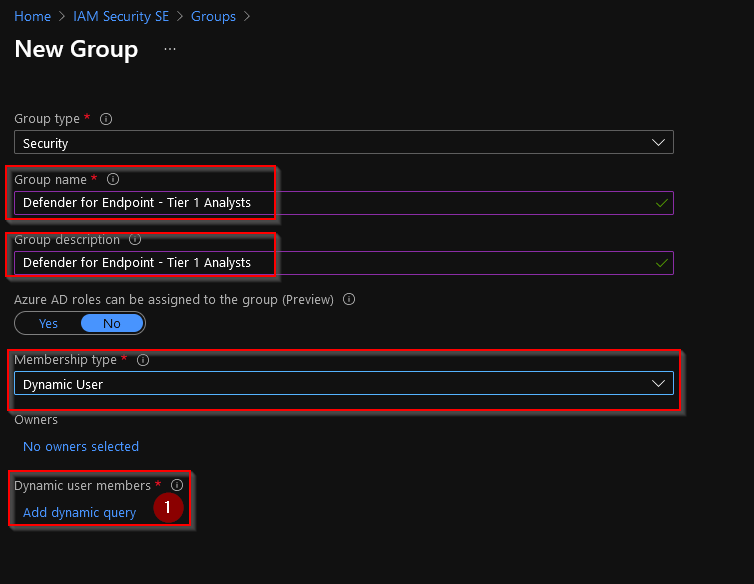
Click on “Add dynamic query” (1) in order to construct the dynamic membership rule for this group.
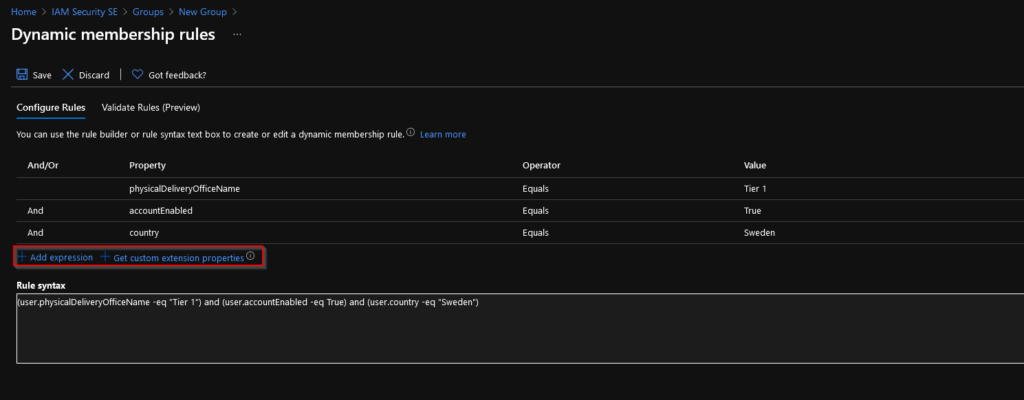
Here we can edit the dynamic membership rules for this group and add/remove attributes and their values which, together make the rules:
Right, now we´ve got our groups in Azure AD aligned. Let´s move over to MDE to create some roles!
Creating roles in Defender for Endpoint
We´ve just covered how to create our groups for our Tier1 level Analysts. Let´s create some Tier1 roles in Defender for Endpoint to be able to apply those to our group!
Browse to either one of these URLs, dependent on whether you´ve activated the Unified Security portal yet or not.
Unfortunately, there is now way to create these roles programmatically yet. So we´ll have to make due using the UI for these parts.
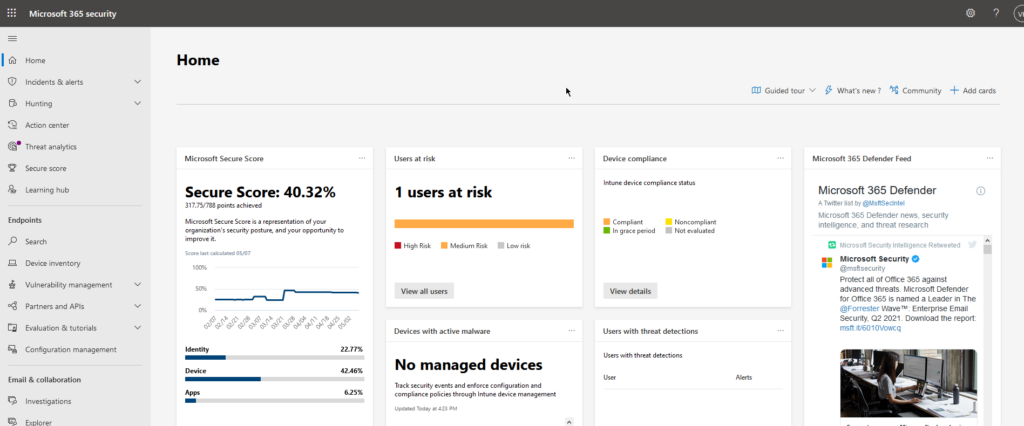
Make your way over to the Security portal in M365.
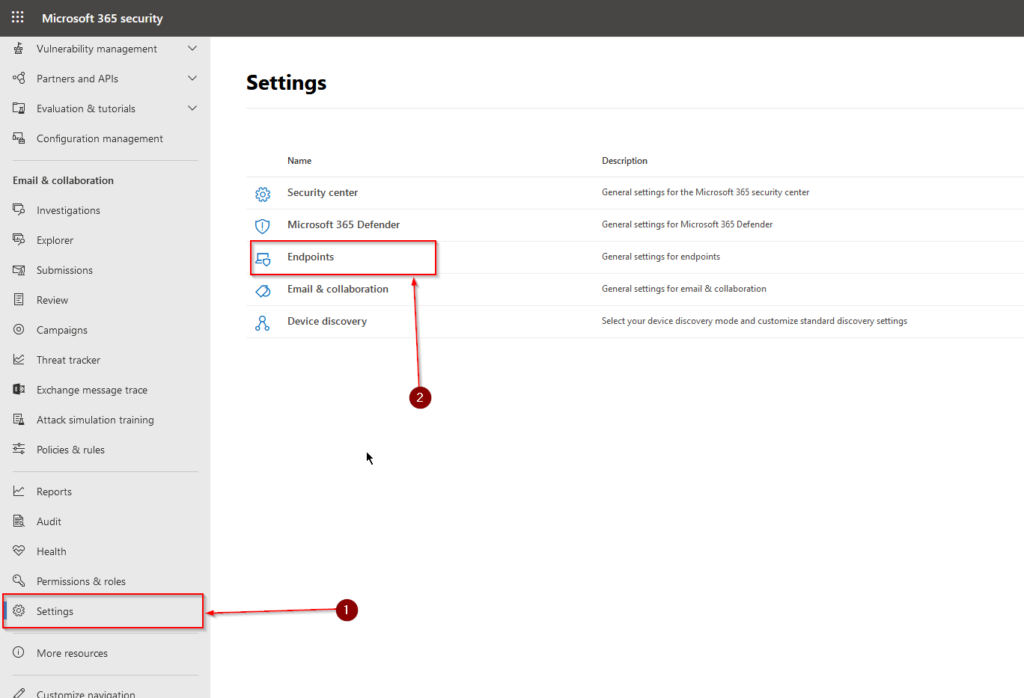
Scroll down, in the menu on your left side to “Settings” (1) and select “Endpoint” (2) in the Unified portal.
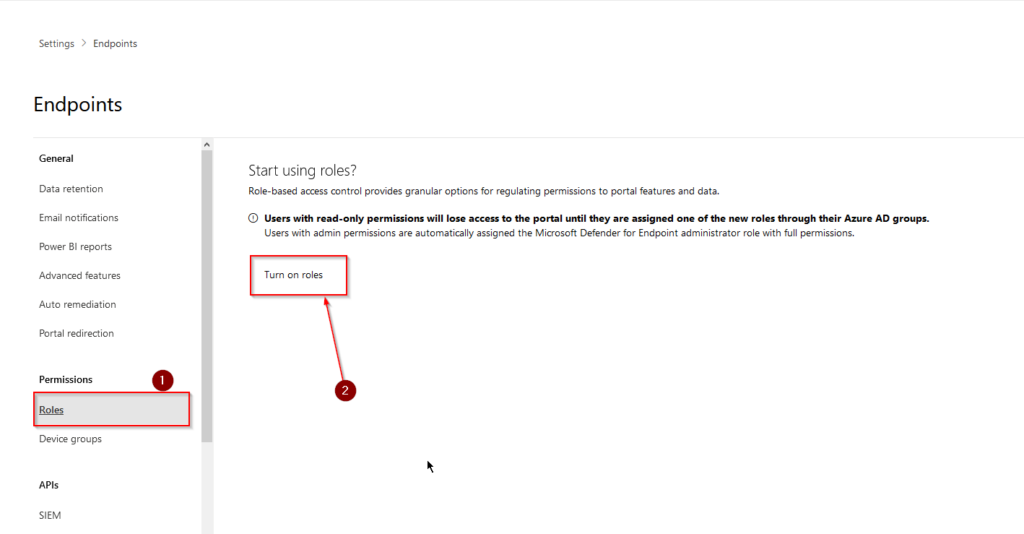
When we´ve reached the settings for our MDE service, we´ll first need to active the RBAC feature. Scroll to “Permissions” and select “Roles” (1), to your right click on “Turn on roles” (2). This action is irreversible, so there´ll be no going back to what used to be from here on in.
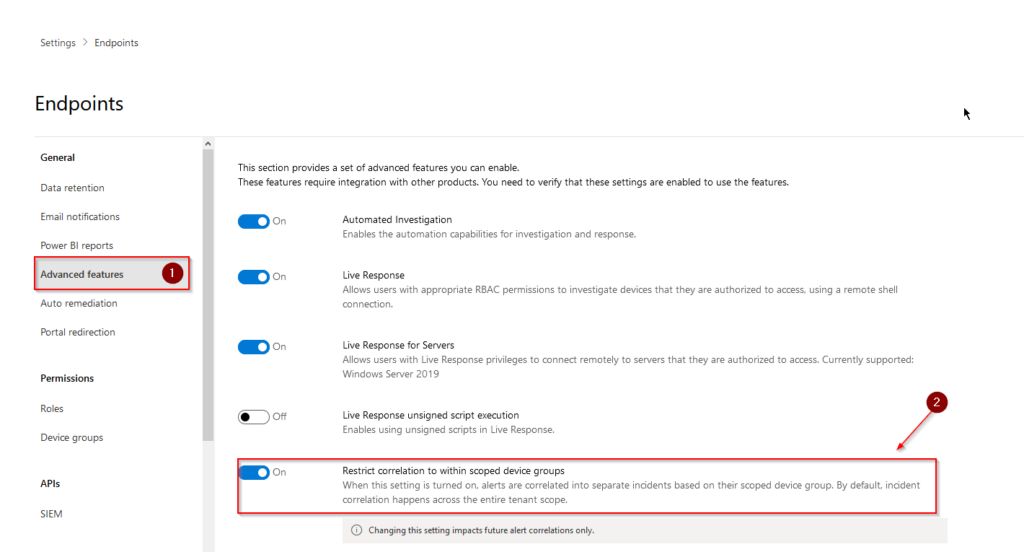
While we´re here, we´ll configure the “Restrict correlation to within scoped device groups” option for roles as well. To do that we´ll need to head over to “Advanced features” (1) and flip the switch next to “Restrict correlation to within scoped device groups” (2). This setting will allow us to correlate incidents by device group. You need to have the correct permissions present on said device group in order to see and act on incidents.
Now, let´s head back to “Roles” and create some new roles for our analysts!
As you now can see, there is a new role created by default called “Microsoft Defender for Endpoint administrator (default)” (1) which was created when we clicked on “Turn on roles” in the previous steps. This role cannot be deleted or altered in any way or fashion, but it´s still applicable for our purpose here since we´re not the Tier1 analysts. This role could also be populated in the same fashion that we´re going to apply for our other roles, using Azure AD groups :).
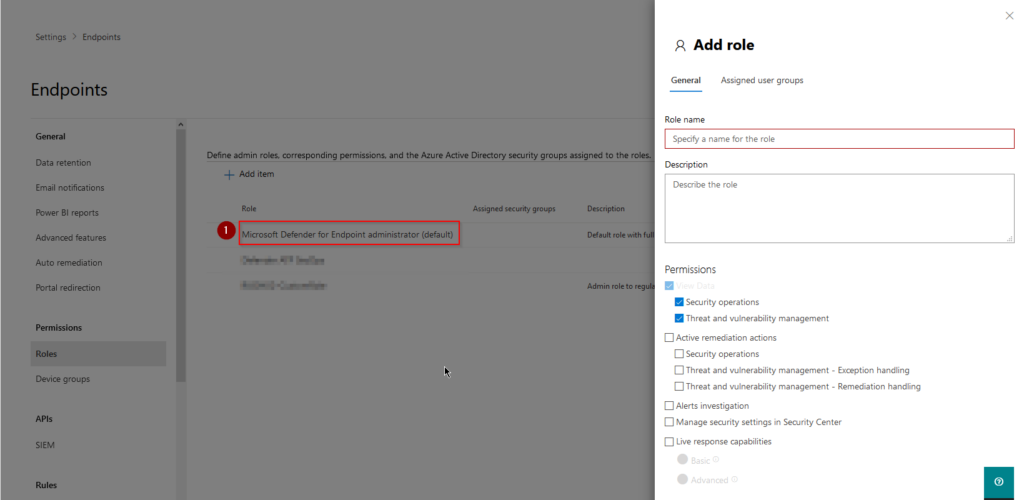
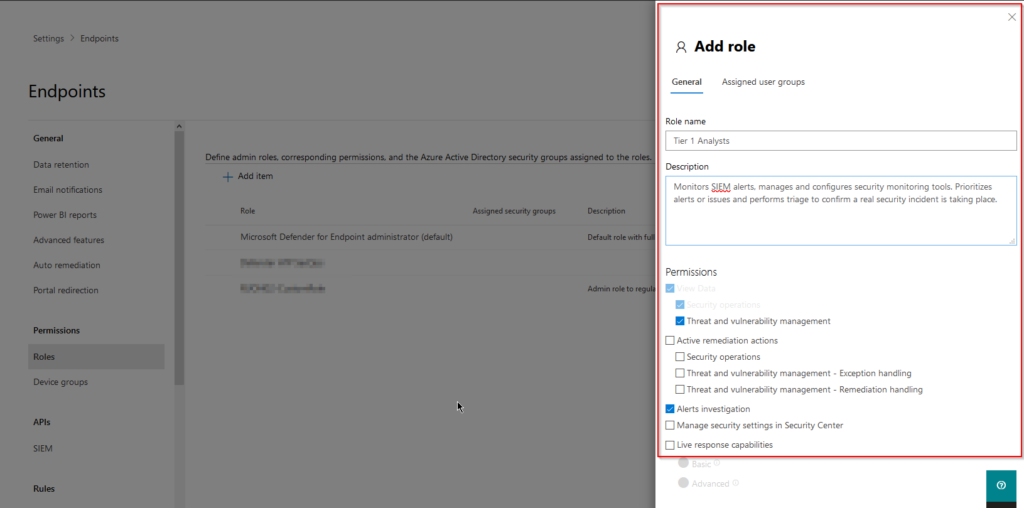
To create our first role we simply need to click on “Add item” and specify a name, description and permissions for said role.
View data
Security operations – View all security operations data in the portal
Threat and vulnerability management – View threat and vulnerability management data in the portal
Active remediation actions
Security operations – Take response actions, approve or dismiss pending remediation actions, manage allowed/blocked lists for automation and indicators
Threat and vulnerability management – Exception handling – Create new exceptions and manage active exceptions
Threat and vulnerability management – Remediation handling – Submit new remediation requests, create tickets, and manage existing remediation activities
Alerts investigation – Manage alerts, initiate automated investigations, run scans, collect investigation packages, manage device tags, and download only portable executable (PE) files
Manage security settings in Security Center
Configure alert suppression settings, manage folder exclusions for automation, onboard and offboard devices, and manage email notifications, manage evaluation lab
Live response capabilities
Basic commands: Start a live response session
Perform read only live response commands on remote device (excluding file copy and execution
Advanced commands: Download a file from the remote device via live response
Download PE and non-PE files from the file page
Upload a file to the remote device
View a script from the files library
Execute a script on the remote device from the files library
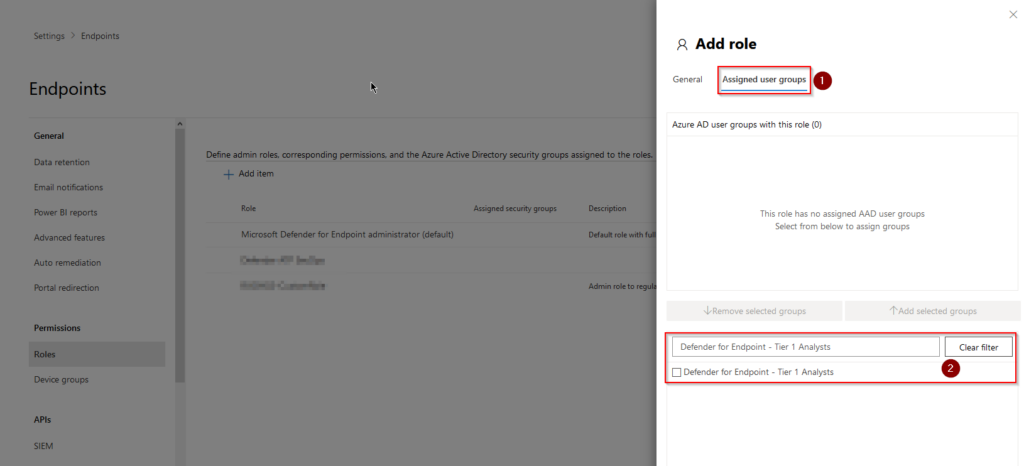
On the “Assigned user groups” (1) tab we can now apply our role to our group (2).
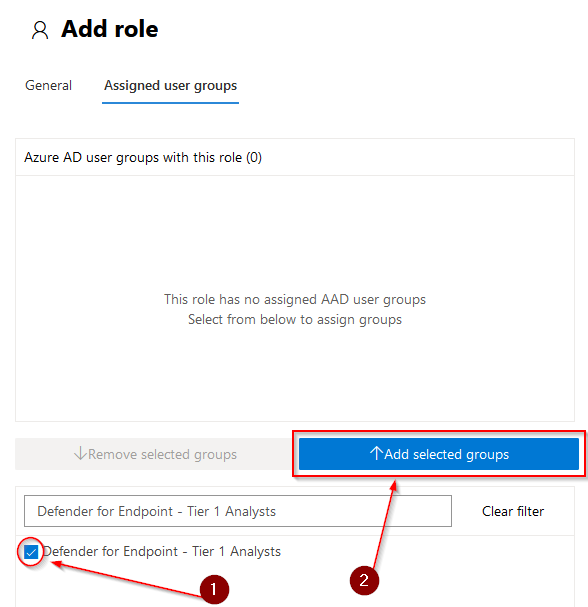
Tick the box next to the group name (1), and click on “Add selected groups” (2) and hit “Save”
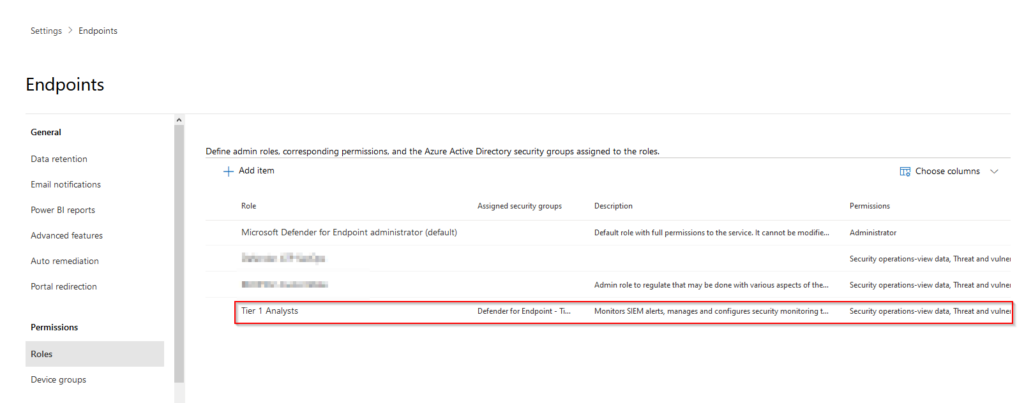
Our new role is now present in the list we saw earlier accompanied by any other role created and of course, the default one.
That´s that for creating an AAD group, a Defender for Endpoint role and assigning the role to the group. In part 2 of this mini-series we´ll cover the topic of device groups and how we can align these with our brand new roles in Defender for Endpoint to achieve our RBAC structure stay tuned and thanks for reading!
//Viktor

Does this RBAC apply only for the MDE part in the MS365 portal or even for the email and collaboration section.I only want the users to be able to view the MDE section, could you kindly suggest how to proceed pls
Hey, yes this RBAC model is only for the MDE part. Since the drop of the unified RBAC model though, it is now possible to grant read-only permissions to specific groups/users. I´ll write a short post on that soon.
//Viktor