Microsoft recently released a public preview on how to nudge your users to set up Microsoft Authenticator as their preferred MFA method rather than the more unsecure options of SMS or OTP as they are more subjects to man-in-the-middle attacks by stealing your PRT tokens and can authenticate with MFA as yourself.
There are some prerequisites to enable this feature:
- Your organization must have enabled Azure MFA.
- User must not have already set up Microsoft Authenticator for push notifications on their account.
- Admins need to enable users for Microsoft Authenticator using one of these policies:
- MFA Registration Policy: Users will need to be enabled for Notification through mobile app.
- Authentication Methods Policy: Users will need to be enabled for the Microsoft Authenticator and the Authentication mode set to Any or Push. If the policy is set to Passwordless, the user will not be eligible for the nudge.
Enabling the nudge policy for your tenant
In order to enable the nudge policy, for the time being you must use the Authentication Methods Policy either via Graph APIs or Powershell commands. You need to be either a Global Administrator or Authentication Method Policy administrator to be able to update the policy.
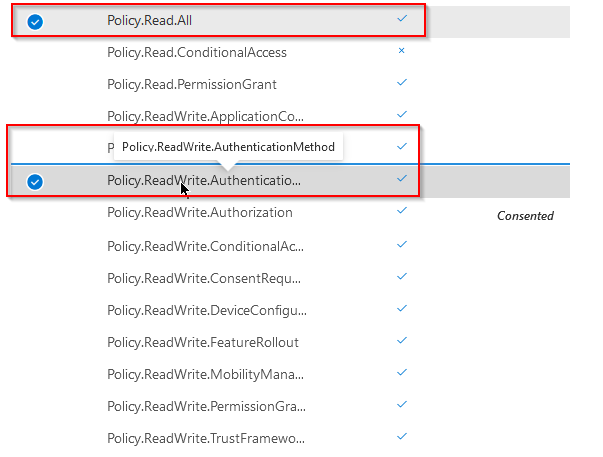
Sign in to Graph Explorer https://aka.ms/ge and add the required permissions for your Graph Explorer application on your tenant:
Once we´ve got the correct permissions assigned to our Graph app, we can get the Authentication Methods Policy that is listed in our tenant today by running the following GET command:
GET https://graph.microsoft.com/beta/policies/authenticationmethodspolicy
And we´ll get a response similar to this one:
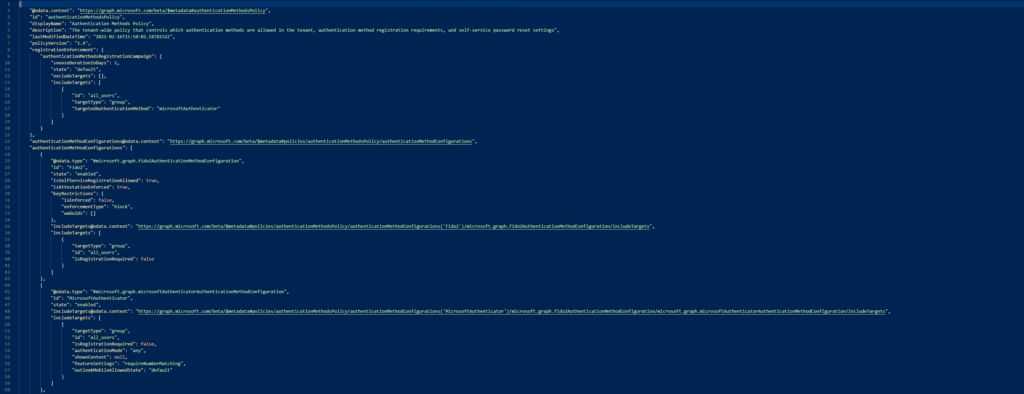
Where we´ll look for the following segment:
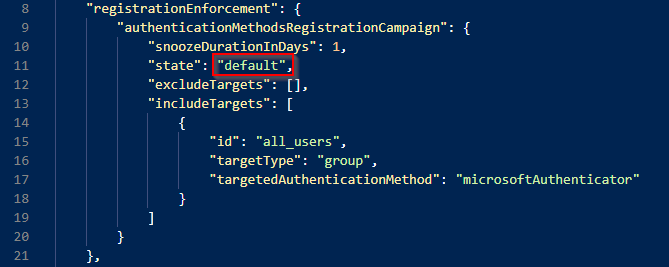
Which tells us whether or not the policy is enabled in our tenant. There are 3 separate states for the policy “Enabled”, “Disabled”, and “Default” which at the time of writing this post tranlates to “Disabled”
The other settings are quite straight forward, for example “snoozeDurationInDays” allows us to configure how many days until the users sees the nudge again. The default value here is 1 day, but can be any number between 0-14. 0 means that the user will see the nudge every single sign-in, while 1 will mean that you´ll see it once a day, 2 means once every 2 days and so on and so forth.
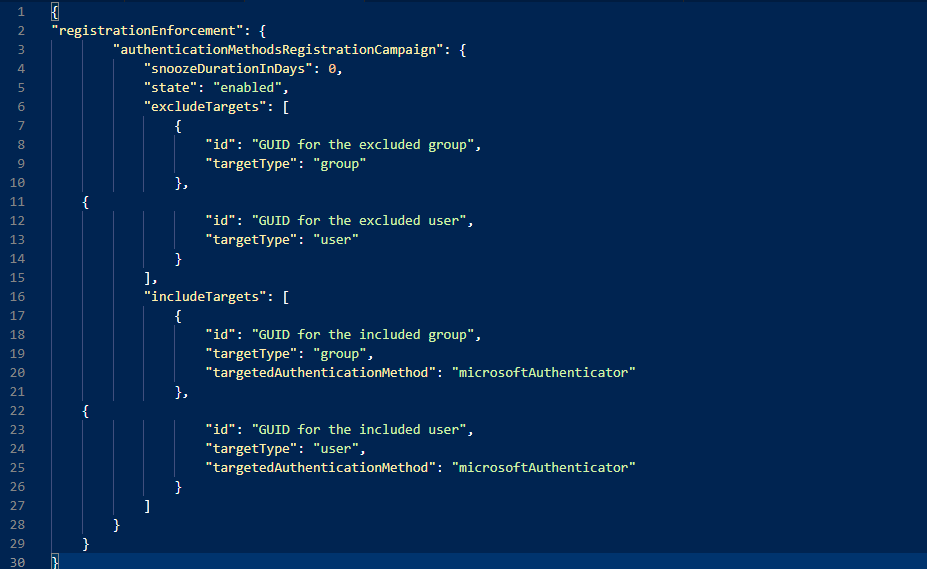
“includeTargets” allows us to scope this policy to different subsets of users to perform a scoped rollout of the feature rather than a big bang scenario. To do that, you´ll need to have the guid of the group which you want to target, the “targetType” (whether it´s a user-by-user approach or a group based approach) and the “targetedAuthenticationMethod” which can only have the value of “microsoftAuthenticatior”
The “excludeTargets” is exactly like the previous one, except it excludes the users or groups listed from the nudge policy.
For example, it could look like this:
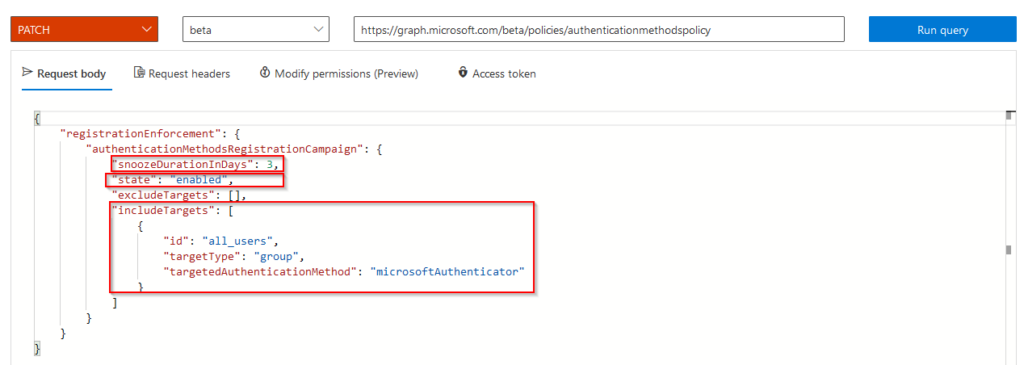
But let´s get back to enabling the feature before fiddling with the settings of the policy. In order to enable it we´ll simply issue a PATCH command like this:
PATCH https://graph.microsoft.com/beta/policies/authenticationmethodspolicy
With a request body of the settings we want to change:
Here are some example JSON you can use to play around with the settings, it´s a 7zip file containing 3 JSON files. The password for the file is “nudge”:
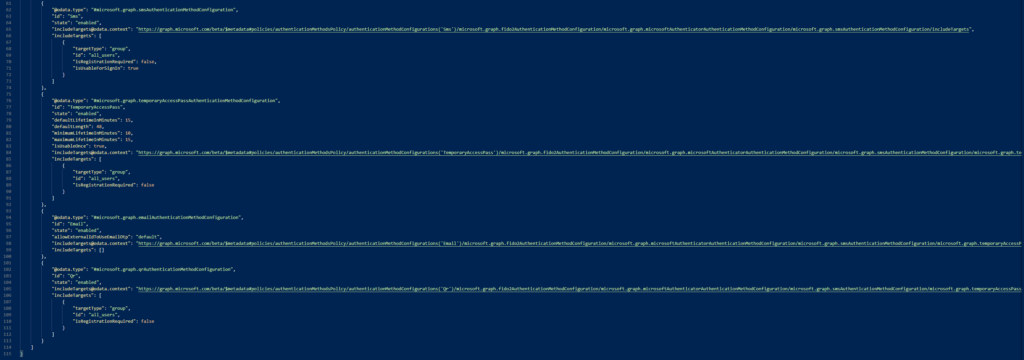
Now, if we run the GET command against our Authentication Methods Policy API we´ll see an output like this:
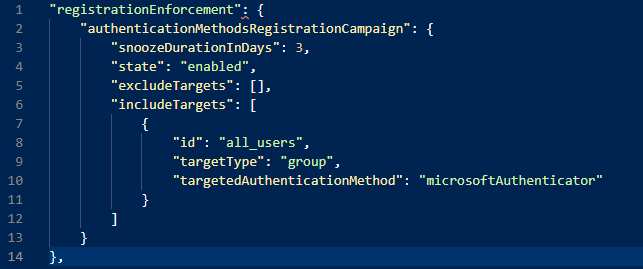
With our updated settings applied to our policy :).
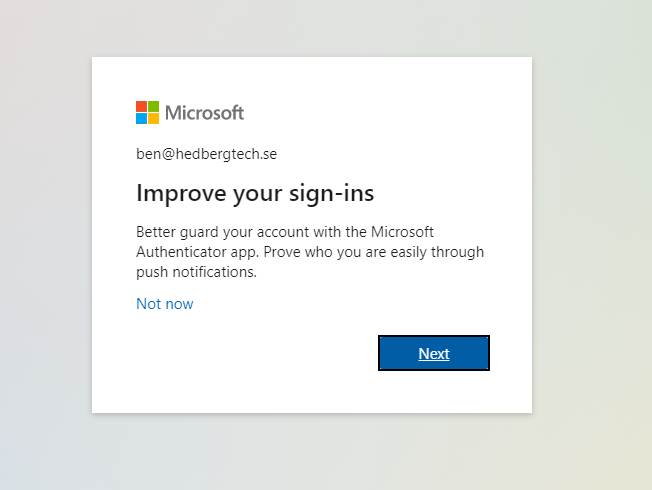
What will the user experience look like?
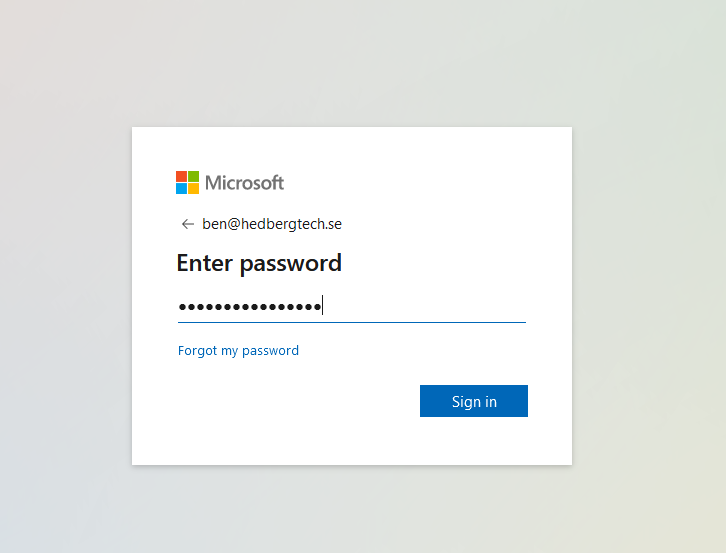
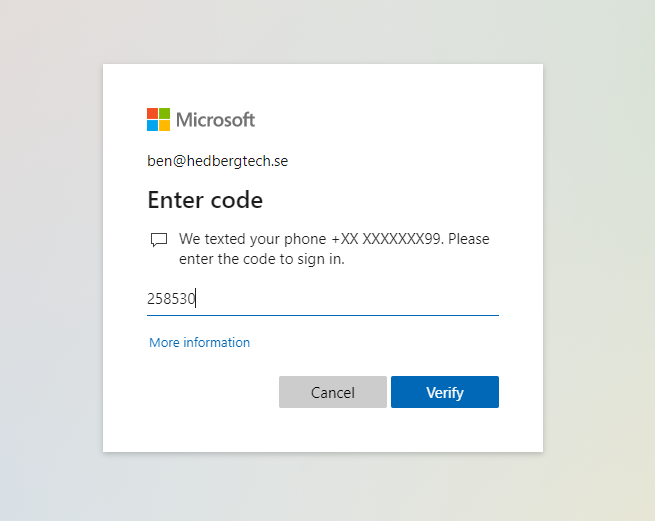
Our user “Ben” is trying to sign-in using SMS as the preferred option for his MFA:
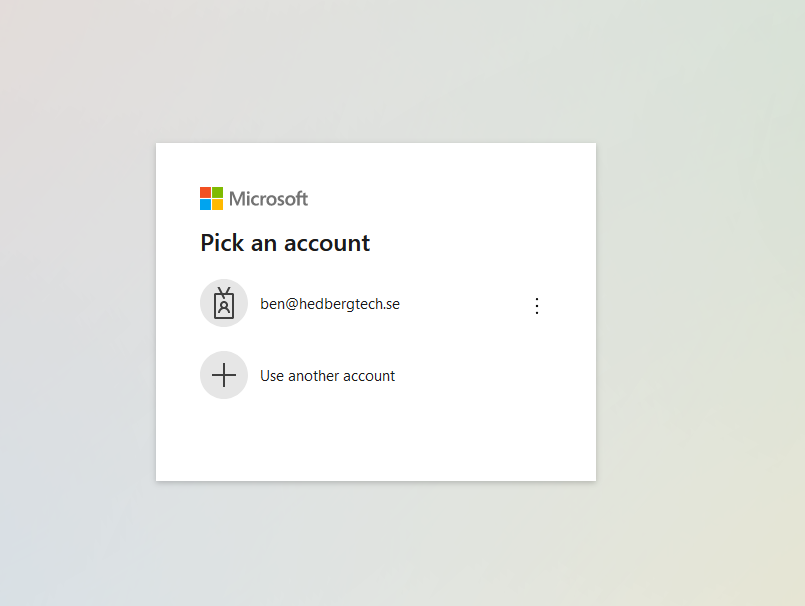
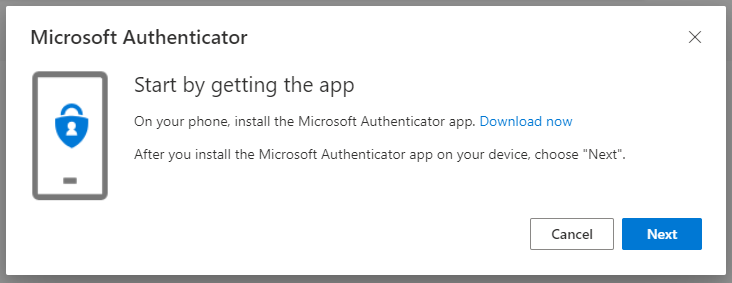
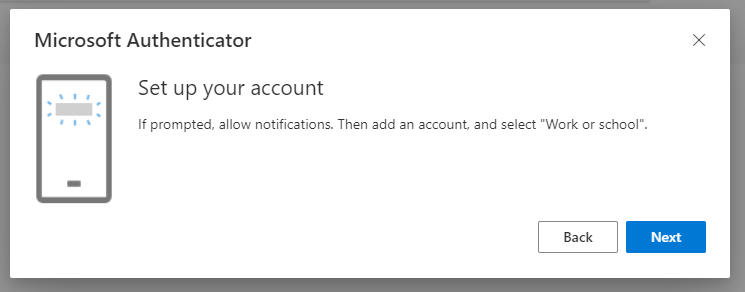
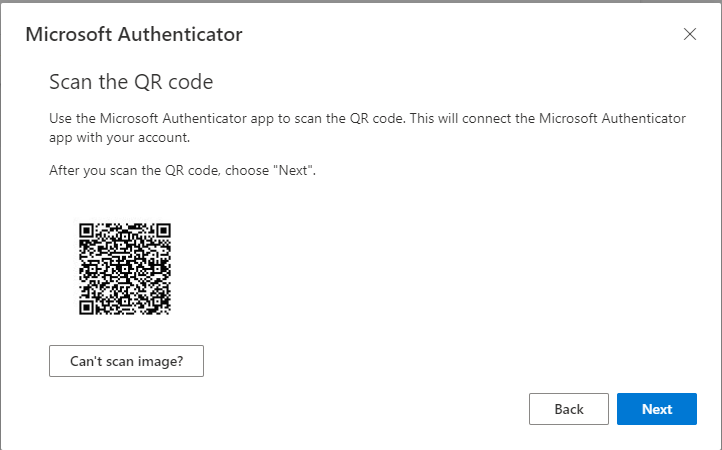

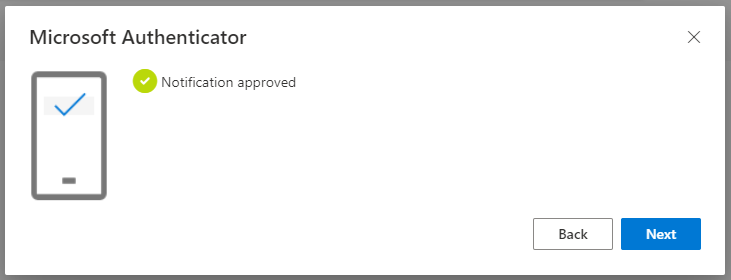
Surfing to https://aka.ms/mysecurityinfo now shows Ben the following:
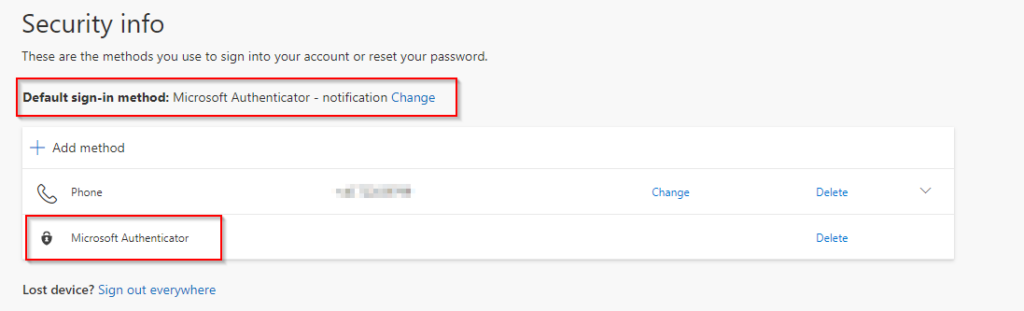
To summarize, in this post we´ve covered how to enable the feature in your AAD, and how it will look from the end user perspective. I´m sure this feature will help organizations to move towards a more secure MFA option than OTP/SMS.
//Viktor
